Showing posts with label Art. Show all posts

Monday, March 2, 2015

{MIY} MAKE-IT-YOURSELF MONDAY! Money Management Jars

Last week we made chore charts for our little one(s) to help them keep track of the chores they are responsible for each day.  Nickelbug is LOVING hers, she even woke up early a couple times last week excited to do her chores!  She enjoys flipping the cards over to show the smiley face indicating that she's done that chore for the day.  This is such a fun way to get her motivated and also it builds her confidence knowing she's contributing to helping me take care of our home :O)  


Along with her beginning to take on chores, she is now starting to make earnings for the work that she does each week.  The chore chart is a way for her (and I) to track her progress for each day to make sure all her responsibilities are taken care of by the end of the week in order to get paid.  Instead of her putting in hours at the office for her earnings she is putting in time by completing certain chores each day.  Right now she is 6 so the chores are simple, short tasks that she is capable of completing.  As she gets older the chores will change to meet her capabilities as she grows.  If I were to make them harder, more time consuming, or too complicated right now then it would only burn her out and discourage her.  My goal is to encourage her and build her up through this process :O)


Even at such a young age, with her making a small amount of earnings I think it's important to start teaching her how to manage her money.  For a Christmas gift from a family member, my boyfriend received Financial Peace University by Dave Ramsey which is a class I've been wanting to take.  In one of Dave's segments he talks about an envelope system to help manage your money in a simple manner.  


For Nickelbug I decided to create some pretty jars, instead of envelopes, to aid in teaching her how to manage her money as she receives her earnings each week.  The amount of earnings your little one earns is up to you.  Every age is different and every households needs vary so please don't feel the need to repliccate my exact amounts.  I'm sharing what works for us at this point in time.


Nickelbug is now receiving $5 at the end of the week if she completes her chores each day (4-5 simple chores).  I am teaching her to split up her earnings and place them in 3 separate jars: Spend, Save, and Give.  She will be putting $2 into Spend, $2 into Save, and $1 into Give.  Along this journey I will be reinforcing why we should set a limit to how much we spend, the importance of setting aside a certain amount to save for future goals, and how important it is to give and how it pleases God's heart and blesses us when we do so.


In combination with the chore chart, she was SOOOO excited last night to receive the jars and to count out her earnings for the week and to divide it up for each jar.  I briefly explained to her what each jar means and what we will be working on regarding her money and budget and this morning she woke up SO excited to GIVE!  She took her giving portion ($1)  with her today just in case she had a chance to give it to someone haha.  We discussed giving more in the car on the way to school.  She is already willing and happy to give  to those in need from what she earns :O)  (2 Corinthians 9:7 New Living Translation (NLT) 7  You must each decide in your heart how much to give. And don’t give reluctantly or in response to pressure. “For God loves a person who gives cheerfully.”)   


Okay, now for the fun part: making your little one some money management jars!  


Here is what you need:

3 Mason Jars
Ribbon
Small Tags
Twine
Burlap Cloth
Flowers
Scrapbook Paper


First, get your scrapbook paper out.  Remove the metal lid from your mason jar and place the outer rim (top-side-down) on the scrapbook paper to trace the inside circle (the part of the lid that screws onto the jar, not the flat center piece that covers the opening).  Trace 3 circles and cut them out.  Hot glue them to the flat part of the lid (the part that covers the opening).  


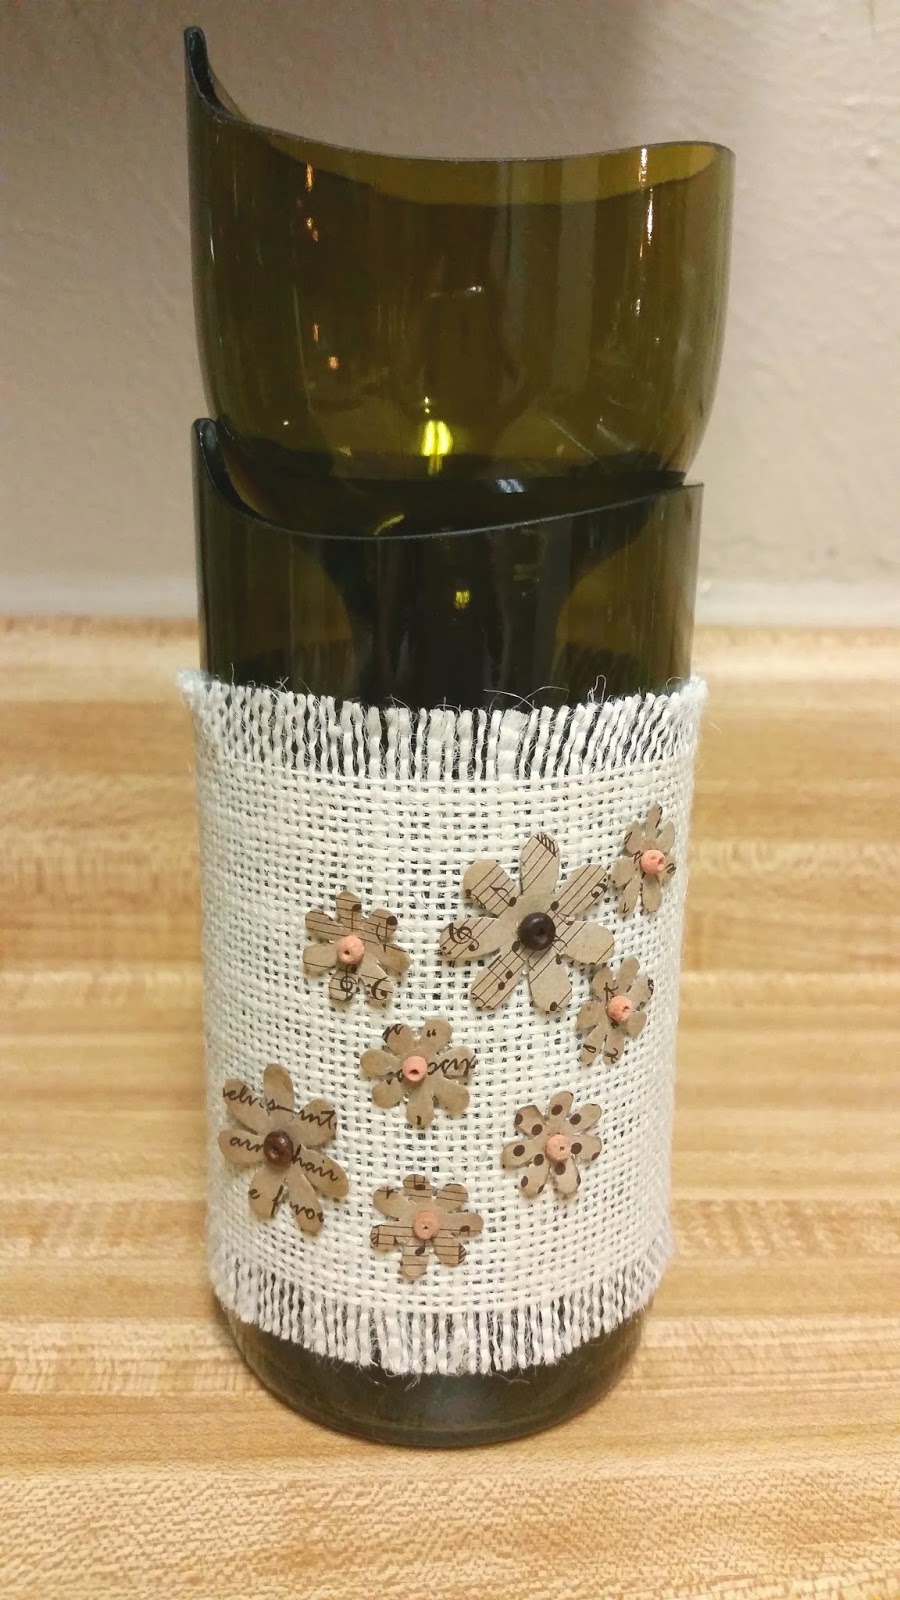
Next, size and cut your burlap fabric to fit around the body of the mason jar.  Then hot glue it onto the jar.


Before you move onto the next step, let's create the tags.  The tags I found at Michael's craft store were already painted with black chalk paint for $.59 each.  I used chalk paint pens to write the title for each jar onto them.  


After you create your jar tags, then take your choice of ribbon to size and cut it to fit around the neck of the bottle.   Hot glue the ribbon around the neck.  Tie the tag to hang from the ribbon.


Lastly, take your choice of flower and glue that onto the burlap fabric.


Complete all of the above on the other two jars and you will have yourself a wonderful, handmade system to introduce your little one to managing their earnings!  


I hope this is not only a fun project to complete, but also a project that helps you and your little one to explore how to work together on this learning journey!  :O)


Sending you uber loads of Love, Laughter and Light!


~Cassie


Monday, February 9, 2015

{MIY} MAKE-IT-YOURSELF MONDAY! Valentine Goody Bags!

 MIY Cassie Librizzi Valentine Bag

Valentine's Day is around the corner and every little one is looking forward to spreading their love of candy.  Here's a wonderful, inexpensive way to create a cute Valentine goody bag with your little one at home! 


What you'll need:

Yarn
ModPodge
Wax Paper
Small Paper Bags
Scrapbook Paper
Pipe Cleaners
Googly Eyes


MIY Cassie Librizzi Valentine Bag
First, cut the yarn one yard long for each heart you're going to make.


MIY Cassie Librizzi Valentine Bag
Get your wax paper out and draw hearts about 3 inches big.


MIY Cassie Librizzi Valentine Bag
Then mix 1 part water with 3 parts ModPodge in a bowl to create your glue.


MIY Cassie Librizzi Valentine Bag
(I love her little feet!)
MIY Cassie Librizzi Valentine Bag
(I love the cute faces she makes!)
Take a strand of yarn and soak it in the glue mixture.  Squeeze some of the excess glue from the yarn.


MIY Cassie Librizzi Valentine Bag
Put the yarn together squiggly like on the hearts you drew.  I outlined each heart with the yarn first then squiggle the yarn back and forth.  Then press the yarn down with your fingers to flatten the strands so they dry together better.  Let them dry overnight.


MIY Cassie Librizzi Valentine Bag
Once they're dry, peel them off of the wax paper.  Now you have the "body" of your goody bag!


MIY Cassie Librizzi Valentine Bag
Next get your scrap paper and cut small hearts.  You're going to use these to create wings.


MIY Cassie Librizzi Valentine Bag
Glue the hearts to the sides of the bags for the wings.


MIY Cassie Librizzi Valentine Bag
Then glue on the yarn hearts you made the night before.


MIY Cassie Librizzi Valentine Bag
Next get your pipe cleaners and clip them small enough to create antenna's and a smile :O)


MIY Cassie Librizzi Valentine Bag
Next glue on some googly eyes and see your little goody bag come to life!


MIY Cassie Librizzi Valentine Bag
Now for the fun  part, fill you bag with some sweet treats!  :O)


Nickelbug and I had so much fun making these together!!  :O)  I hope  you do too!


Sending you lots of Light and Laghter!

~Cassie

Monday, January 26, 2015

{MIY} MAKE-IT-YOURSELF MONDAY! Glass Planter Made with Recycled Wine Bottle


Have you ever enjoyed a good bottle of wine and sat there with the thought passing through your mind, "I wonder what I could make with this empty wine bottle?"  If so, then this is the "how-to" for you!  :O)  


Here's what you need:

Wine bottle (empty)  
Glass bottle cutter
Tongs 
Big cup
Emory sheets 
Cloth strip (pattern/color of your choice)


First get two BIG pots of water.  Put one on the stove, set it on high to get it to a continuous rolling boil.  Fill the other one with ice water and set it close to the boiling pot.  


While the one pot is coming to a boil and the other is icing, you need to score the glass bottle.  Get your glass bottle cutter and measure out where you want to create the score.  Secure the cutter and then score it.  Be uber gentle in scoring.  If you put too much pressure on the score line then it will cause the glass to separate at wonky angles.  You want to aim for a straight cut.  (side note:  I don't mind curved cuts, it gives it a different aesthetic look, but that's just personal preference) 

After your bottle is scored and your water is at a rolling boil, dip the bottle into the ice water to submerge the score line under the cold water.  Quickly remove it and place it into the boiling hot water to submerge the score line into the high heat.  Keep going back and forth, slowly and carefully, between the cold and hot water.  


Soon the bottle will separate along the score line and the top half will drop into the water.  Use the tongs to remove it so you don't burn or cut yourself along the sharp edges of the cut portions.  


(This one turned out a little straighter)


Once you have your two halves dry them off well and get your emory paper out to sand down the sharp edges.  

Next cut a strip of fabric about 18 - 24 inches long and double tie it about 6 inches down from the top.  Make note to do a loose double tie so that the knot is thick enough to not fall through the neck of the wine bottle.  Turn the top half of the wine bottle upside down and place the neck, head down, into the body of the bottle with the bottom end of the cloth strip through it so the knot stays on the top with the bottom half hanging through to the bottom of the bottle.  Then fill it with dirt and seeds, or plant, of your choice and water it.  

The water will drip to the bottom of the planter and the cloth strip will retain the water to keep the soil moist on top.  Brilliant, right?!  This is a fantastic planter for those that tend to forget to water their beloved plants.


You have yourself a handmade glass planter!
 
:O)  Decorate it and enjoy it!


I hope you enjoyed this "how-to" for a wonderful Make-it-Yourself Monday!  


Sending you lots of Light and Laughter!

~Cassie

Monday, January 19, 2015

{MIY} MAKE-IT-YOURSELF MONDAY! White-on-White Curtain with Tree Limb Curtain Rod


It's a new year and you're turning a new leaf.  Wanting to be more organized, be more put together and on top of upcoming tasks, all the while also purging the old and making way for the new!  Along with the New Year we are skirting up to Spring time!  I've already seen Easter decor and goodies out on store isles so I know it's on everyone's mind too.  I have already had a jump start on "spring cleaning" and now I'm moving on to revamping my indoor decor in an effort to get ready for warm, sunny days!  YAY for the fun stuff!!!

I'm starting with my living room.  Here is a simple curtain that you can make yourself and give your room some added character without draining the bank!  #winning  :O)


What you need: 

A white top bed sheet
Tree limb
Coat hooks
Thin cut fabric strips (or curtain hooks)
Fabric paint (color of your preference)
Cardboard or other board used for crafty stuff


I chose to do white on white to brighten up the living room a tad in contrast to my darker furniture and walls.


First, find a great spot that works for you to spread out and work.  I spread out on my living room floor, however, after about 10 minutes of leaning over my back started to hurt so I moved it to my kitchen table in order to stand and work.  


Make sure you set it up for you to be painting on the wrong side of the sheet.  When you go to hang it, the painted side will be facing toward the window. 


Place the cardboard (or other board of your choice) under the place you will paint on.  This protects the surface you’re working on from any paint that bleeds through the fabric. 


Place the stencil on top of the fabric, above the cardboard, where you want to paint, and then apply the paint.  Make sure to use a soft bristled brush and apply the paint lightly so as not to push too much paint through the fabric. 

This is a phenomenal project to get your little ones hands involved too!

Nickelbugs thumbs-up for her job well done :O)


Continue to move the cardboard around under the fabric as you move to the next spot to paint.  You can create a pattern, use the same stencil all over, or do like I did and paint random stencils randomly throughout.  Fabric paint dries fast, which is wonderful so you don’t have to wait for very long before moving on to the next stage.


Moving on, next you’ll fold the sheet in half along the length of it and cut it in half to create two panels.  (If you prefer to keep it as one large panel and tie it at the center, that works great too!  Just skip to the step of sewing on the tie straps)  Sew up the edges of the cut sides to create a clean edge and prevent the fabric from fraying.    


Next, get out your thin cut fabric strips and sew those onto the top edge of each curtain panel.  Now you have two beautifully painted curtain panels that are ready to hang!


Get out your coat hooks and your wood tree limb to measure and mark where the coat hooks need to be hung.  (I found a tree limb trekking around outside one day that has been sitting in my garage for a while)  After you have the coat hooks hung, lay your tree limb on the floor in order to tie on your curtain panels. 


Once your curtain panels are tied on then you are ready to hang your new curtains!  You can let them hang as is or you can tie them to the sides.  If you chose not to create two panels then you can tie it at the center or off to one side.  Either way you win! 


Pat yourself on the back for the amazing job you have done creating your own custom curtains!  I squealed a bit out of excitement at how awesome they turned out!  I am so fulfilled and I get so much enjoyment when a project turns out better than I thought it would :O)

I hope you enjoyed walking through the making of a light touch to my cozy corner :O) 


Sending you lots of Light and Laughter!

~Cassie


P.S. ~ Please share with me any thoughts or added ideas that you would like to see created on here!


Monday, January 5, 2015

ARTFULLY GRATEFUL, TRULY :O)


"Namby pamby's who whine because they just got home from working a 10 hour day at the office for their "day job" and would rather watch American Idol than work on their startup business will likely fail.  Don't be that namby pamby." ~ Wrote someone in a book I read and tore it out to tape into my journal and don't remember what book it came from (yup)


I stumbled upon a journal that I purchased at the beginning of 2014 for the purpose of writing visions, goals, and inspirational quotes that impacted me.  Sadly, I abandoned that wagon long ago.  Tisk - Tisk, one might say.   However, it's never too late to pick up where I left off!!  Those visions and goals that I started to write out have always been brewing and growing internally.  I've just been neglecting them externally.  Not all is lost, nope, not at all!  Instead of getting mad at myself,  I'm more motivated than anything :O)  


Making the choice to see all of life's experiences and surprises as blessings allows an abundance of joy to flow out of my heart.  A grateful spirit is a solid protection against negativity and I want that to rub off onto others.  I see so much abundance and I'm amazed and grateful for who I am, where I'm at and where I'm headed!  


When I was working on some paintings for Christmas gifts this season it re-birthed so much passion in me to get back to what I love to do: Art.  Doing what you love isn't work, it's joy-breathing and life-giving!  By doing more of what I love,  I will be a better mom,  better girlfriend,  better friend, and an even greater artist too!  This year is going to be a year of FOCUS.  Without focus there is no peace or productivity.   So here's to focusing on what we love to do this year!  Cheers!!!


"There are only two ways to live your life.  One is as though nothing is a miracle.  The other is as though everything is a miracle."  ~ Albert Einstein - Scientist 


Always see the abundance around you and be grateful.  No.Matter.What.   :O)

Sending you lots of Light and Laughter,

~Cassie